
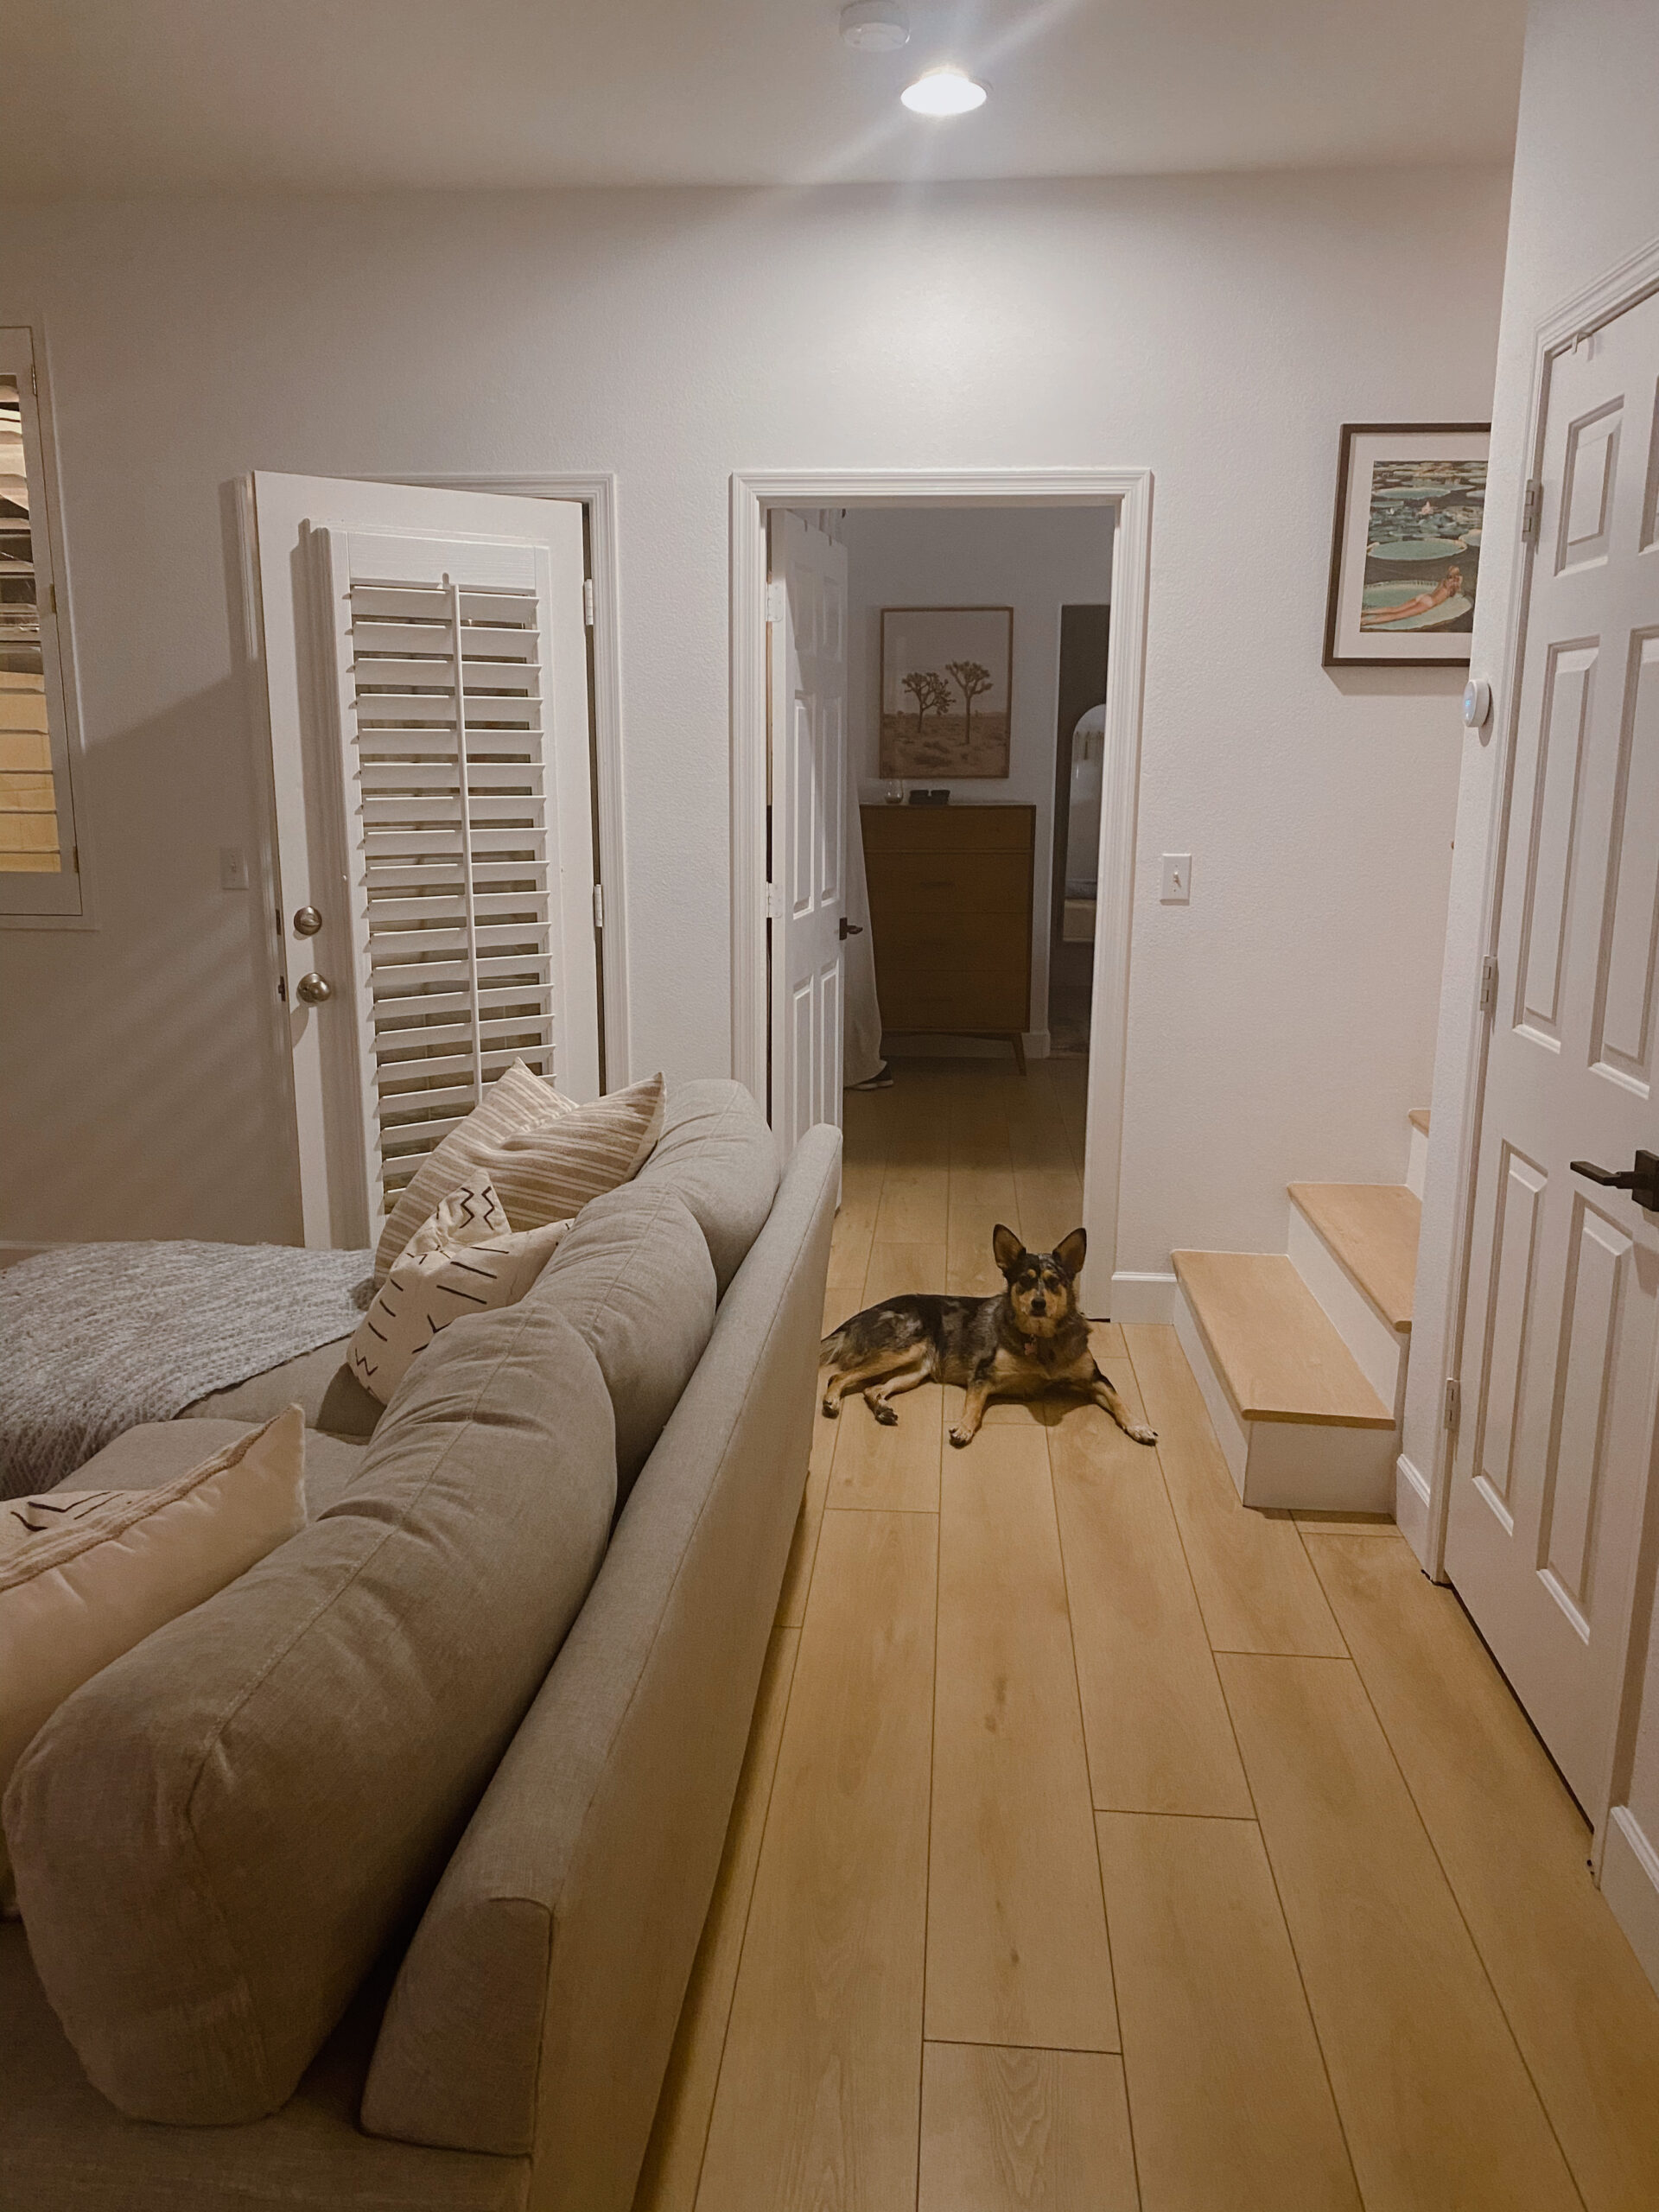
I’m back with another home update: my new floors in my condo are done!!! And WOW did they make sooo much of a difference. We (with the help of my dad, who basically did the whole thing) decided to DIY both the removal of the old flooring and the installation of the new flooring. I knew I wanted to do vinyl flooring, and I ended up choosing Soho Signature vinyl planks by Flooret for a number of reasons.
Note: If you’re interested in trying Flooret, use this link and code BBOOKS33 to get a sample for 33% off! Here’s an example of their size!
Why I Chose Flooret Vinyl Flooring
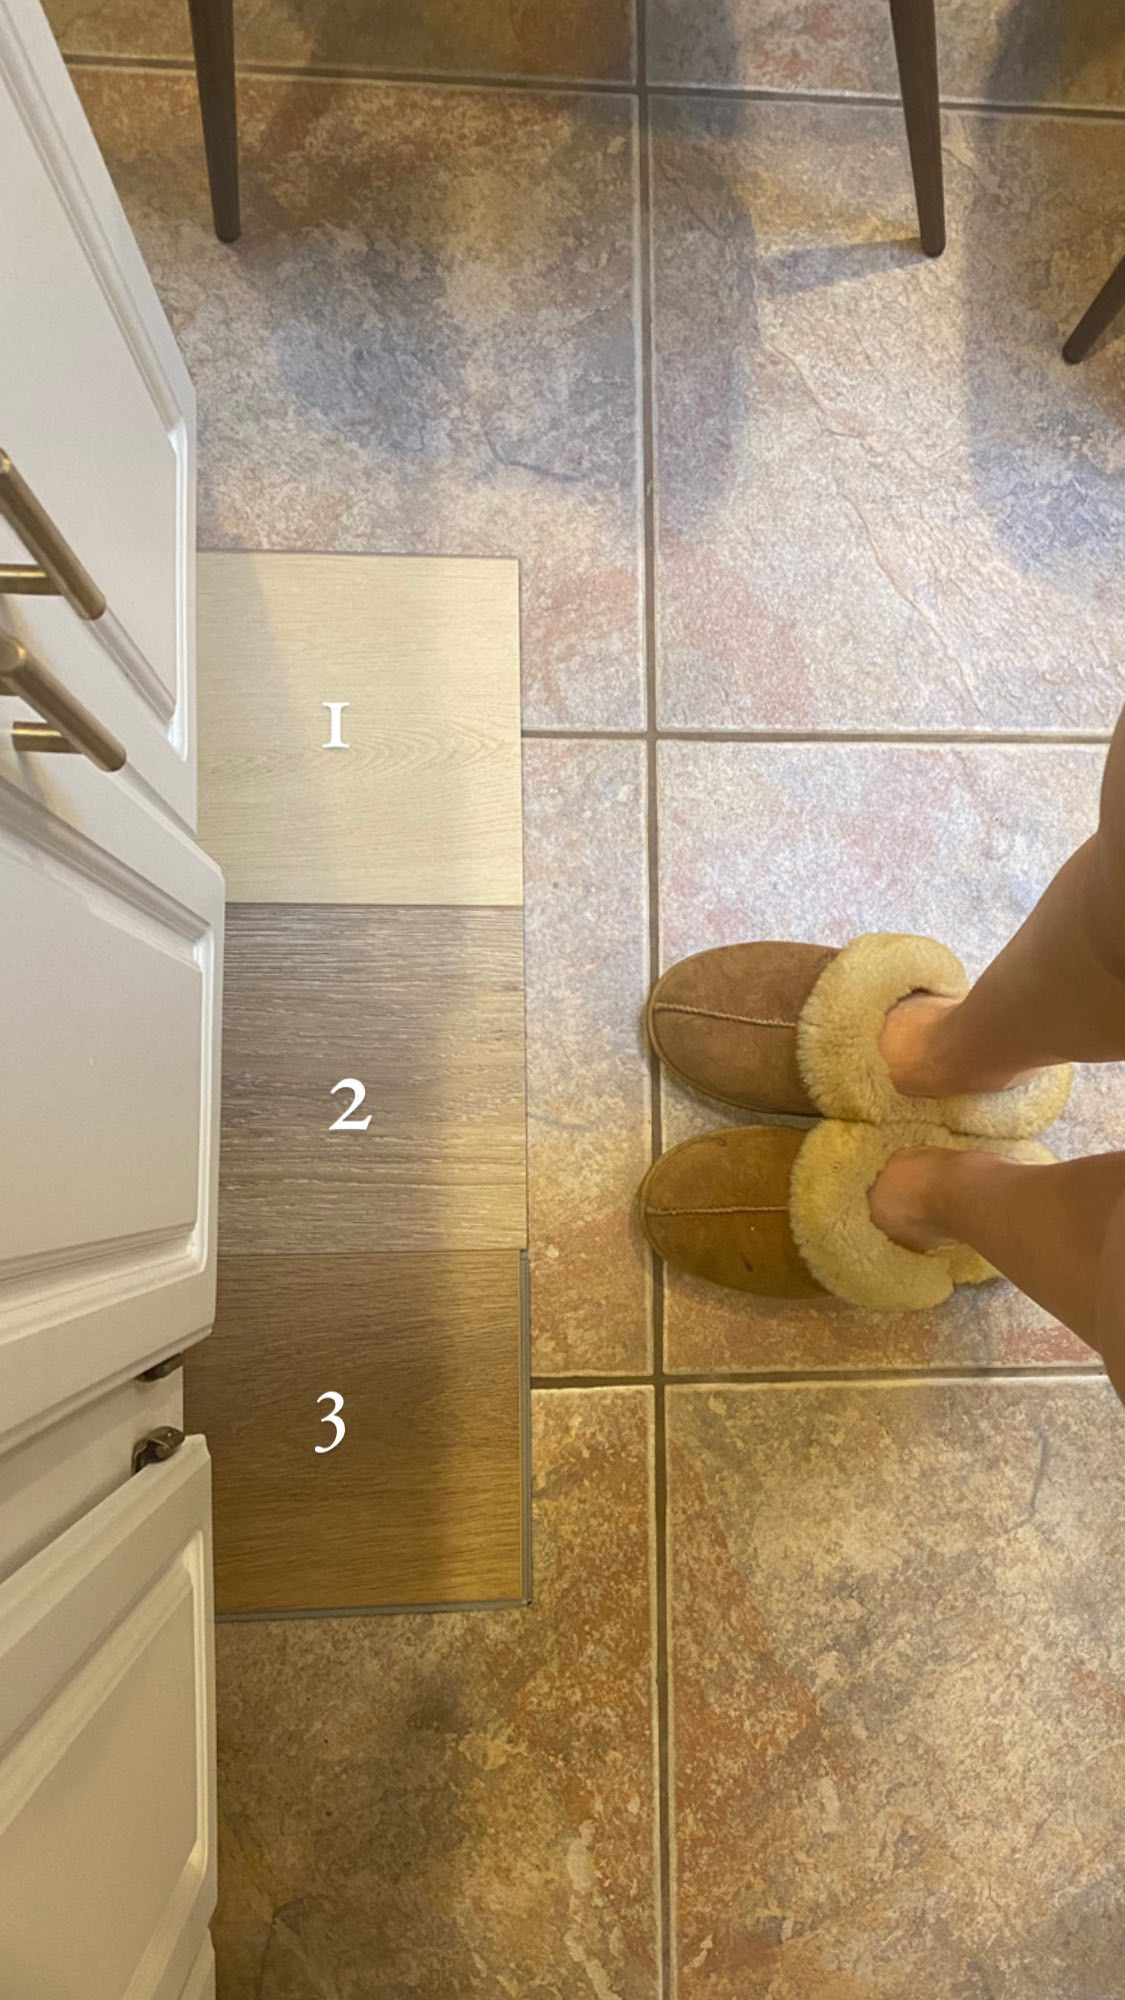
- Huge sample sizes – I ordered 3 different colors when I was deciding the shade I wanted and they were by far the biggest samples I had seen!!! Theyre a foot long and 9 inches wide. It made it much easier to envision how’d they look with my furniture and the rest of my house.
- The underlayment is pre-installed. One less step to worry about when installing.
- Eco friendly, 100% recyclable materials
- Scratch resistant & 100% waterproof (read: PET FRIENDLY !!!! @Jojo)
- Click-lock install, no nails needed
- Wider & longer planks. They’re 72 inches long by 9 inches wide. Longer/wider pieces mean fewer pieces to install, and bigger pieces just look more expensive in a home. Win-win.
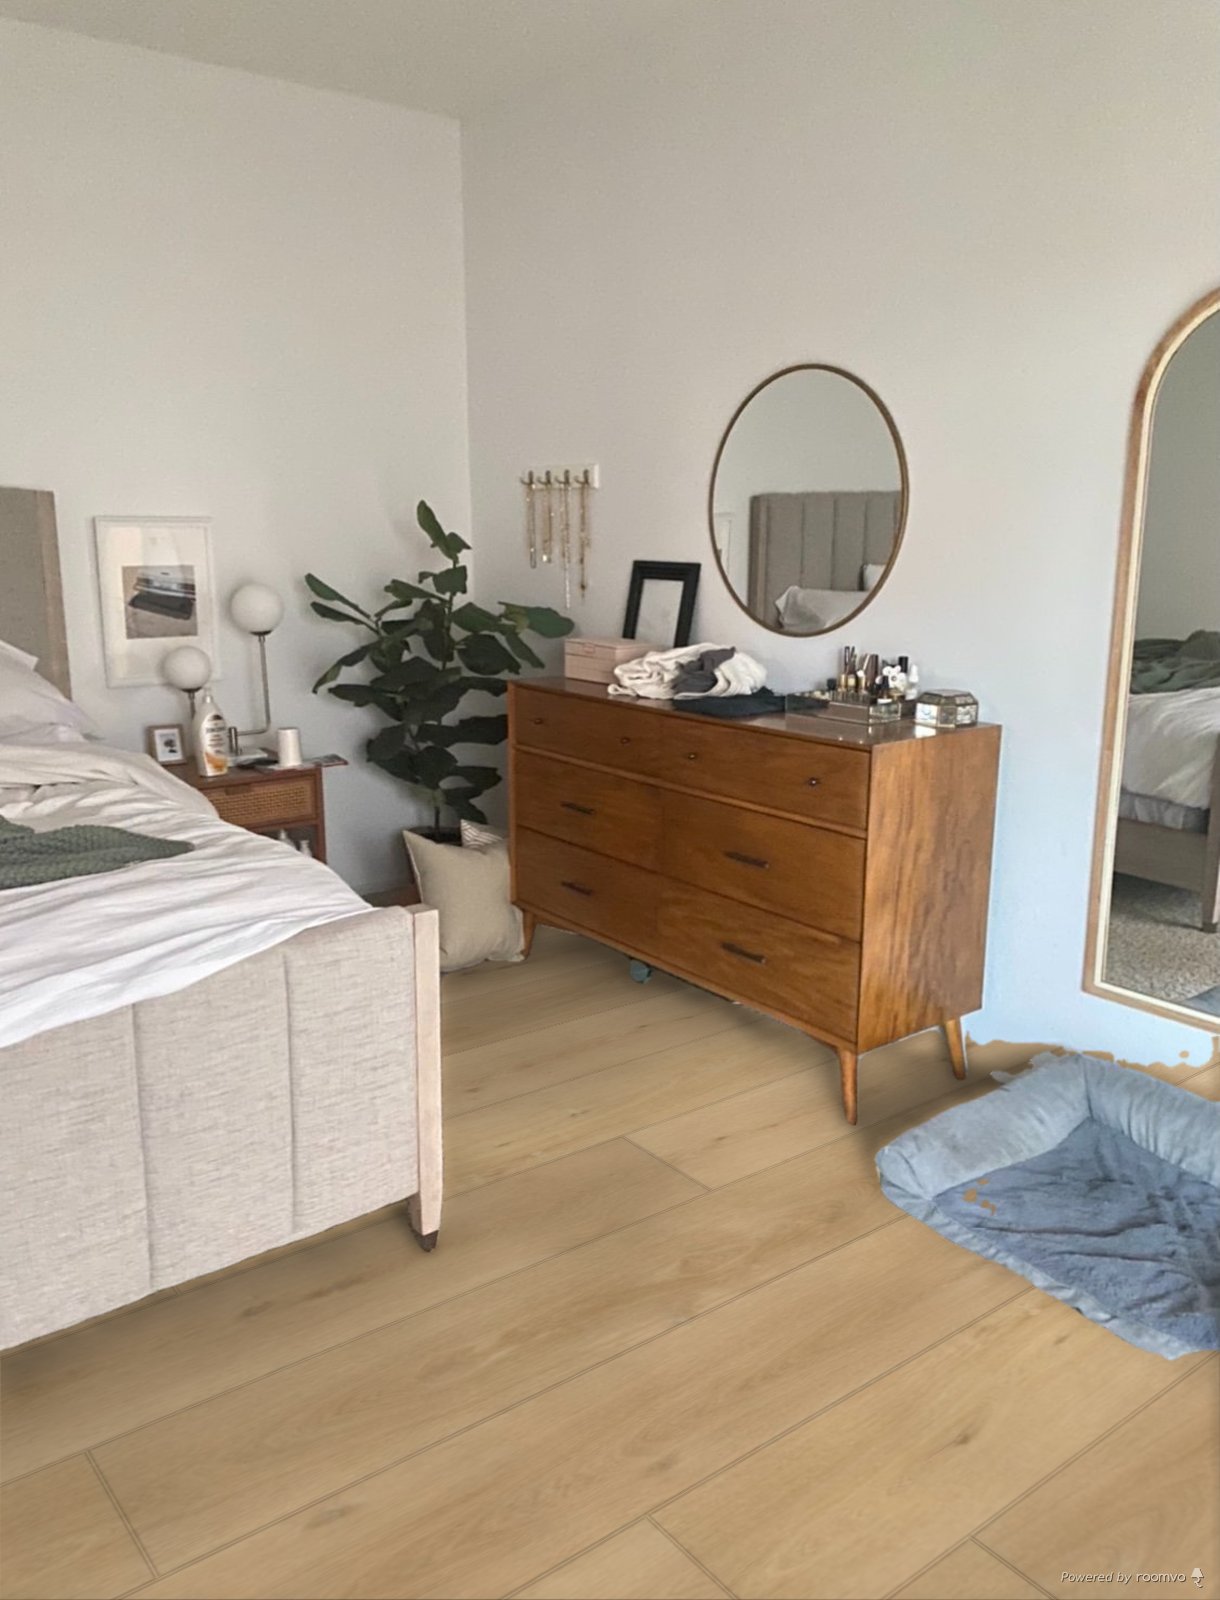
I would also recommend using their flooring simulator on their website! You can upload a picture of any room in your house and get a good idea of what the floors will look like. Here’s an example!
What Flooret Color/Style I Chose
Soho Signature. Use this link and code BBOOKS33 to get a sample for 33% off!
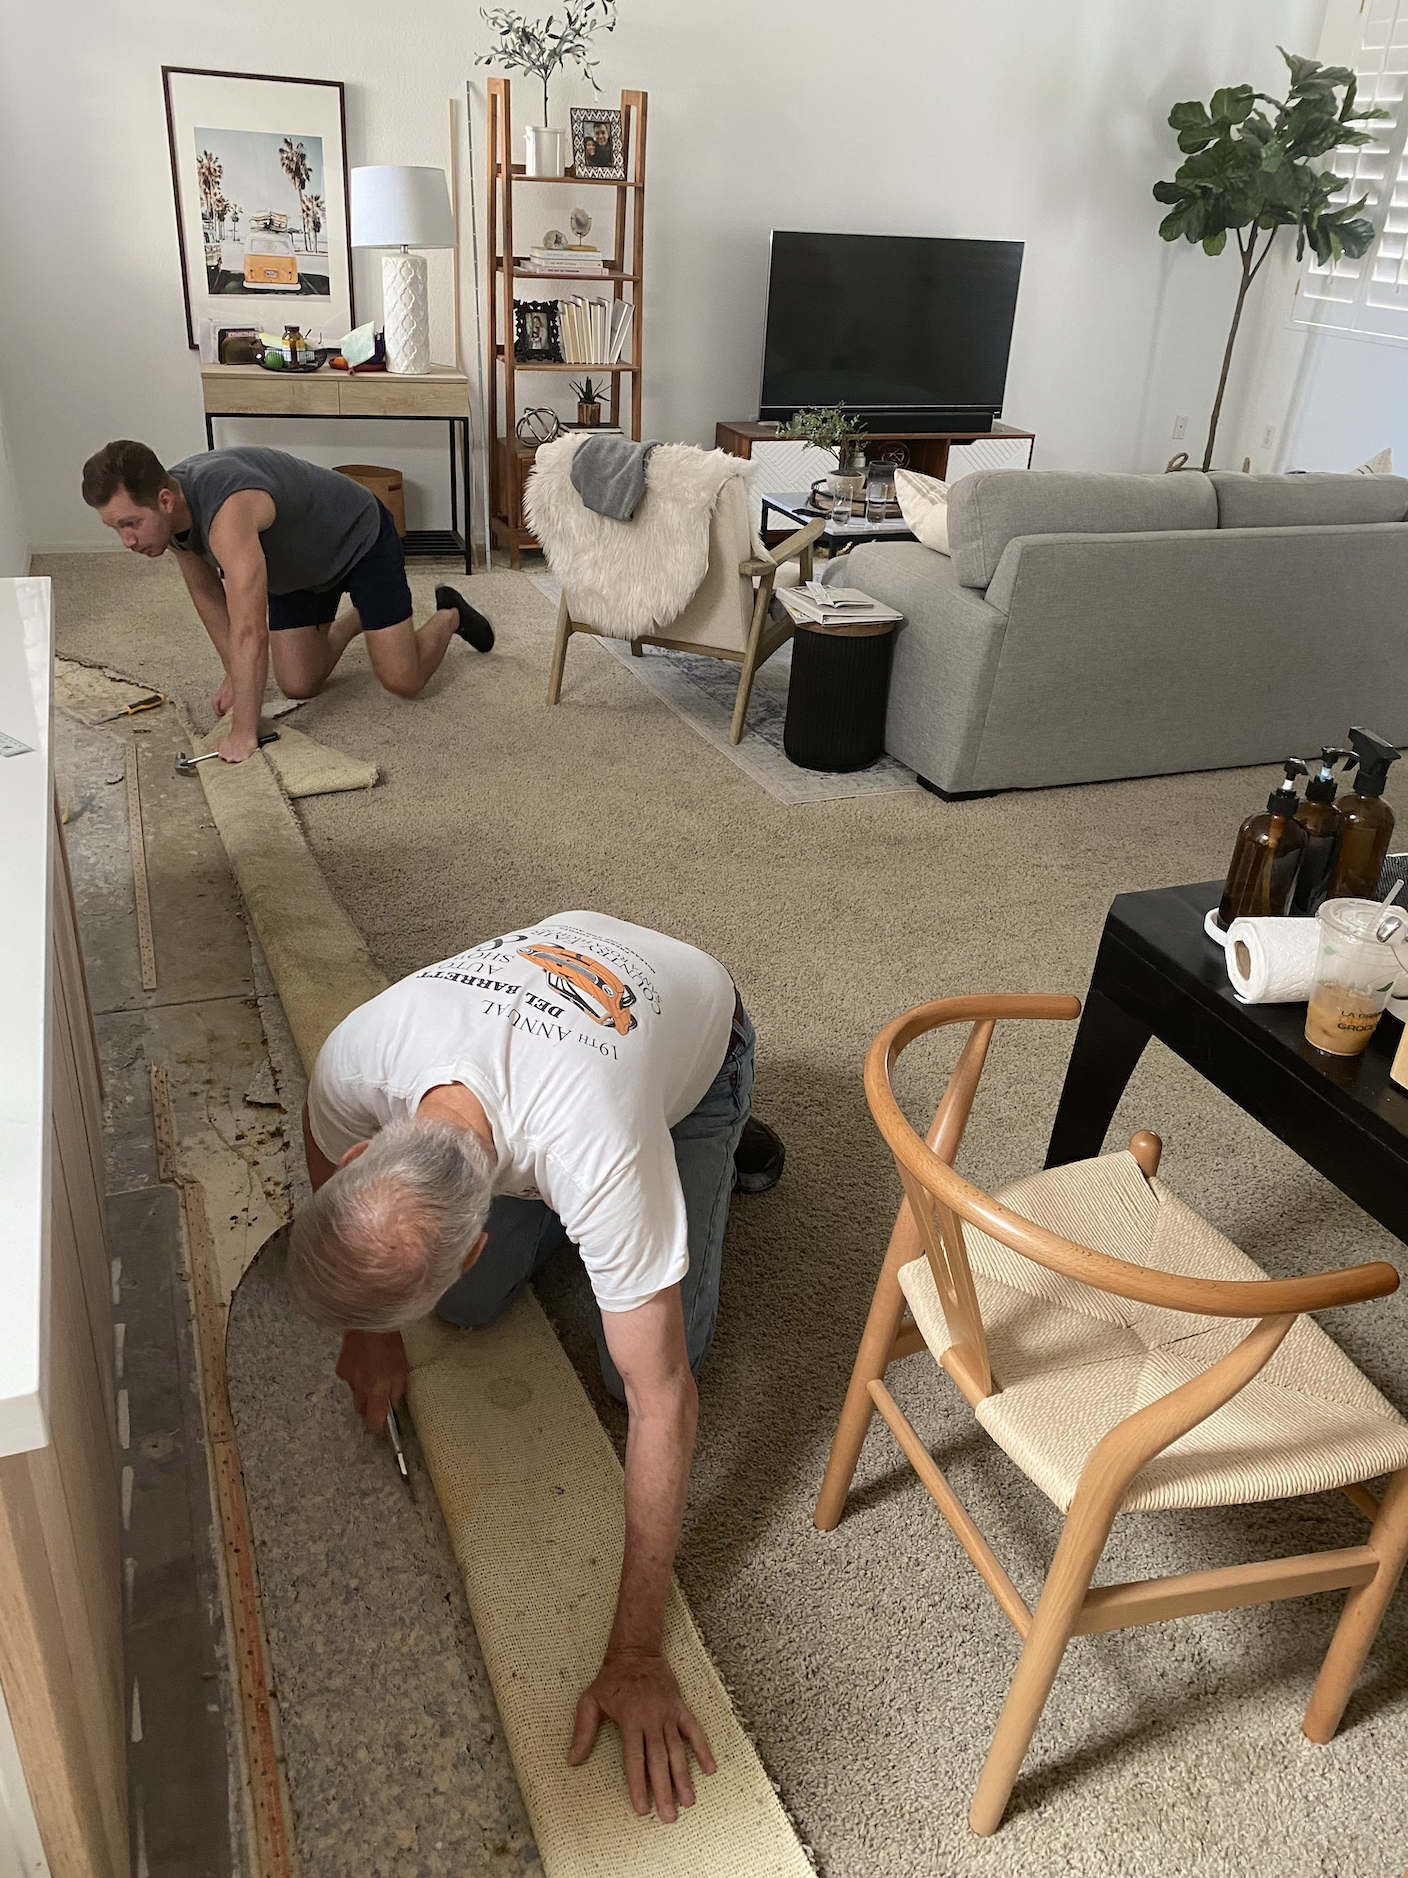
Old Flooring (Tile & Carpet) Removal
My old flooring was a mix of carpet and tile, and I had already taken up & replaced the old tile in the 2 primary bathrooms last year. So all we had to do was take out the tile that spanned the kitchen and the powder bathroom. Couldn’t be that hard right?
WRONG. Taking up the tile was sooooo much more time-consuming than we thought. Since it was at the entry point of the home, I assumed they used more mortar to stick the tiles down when installing them, so none of the pieces came off in a “single” piece and we spent HOURS chipping away at them. We actually got to a point where we were so crunched on time that we RENTED A JACKHAMMER lol.
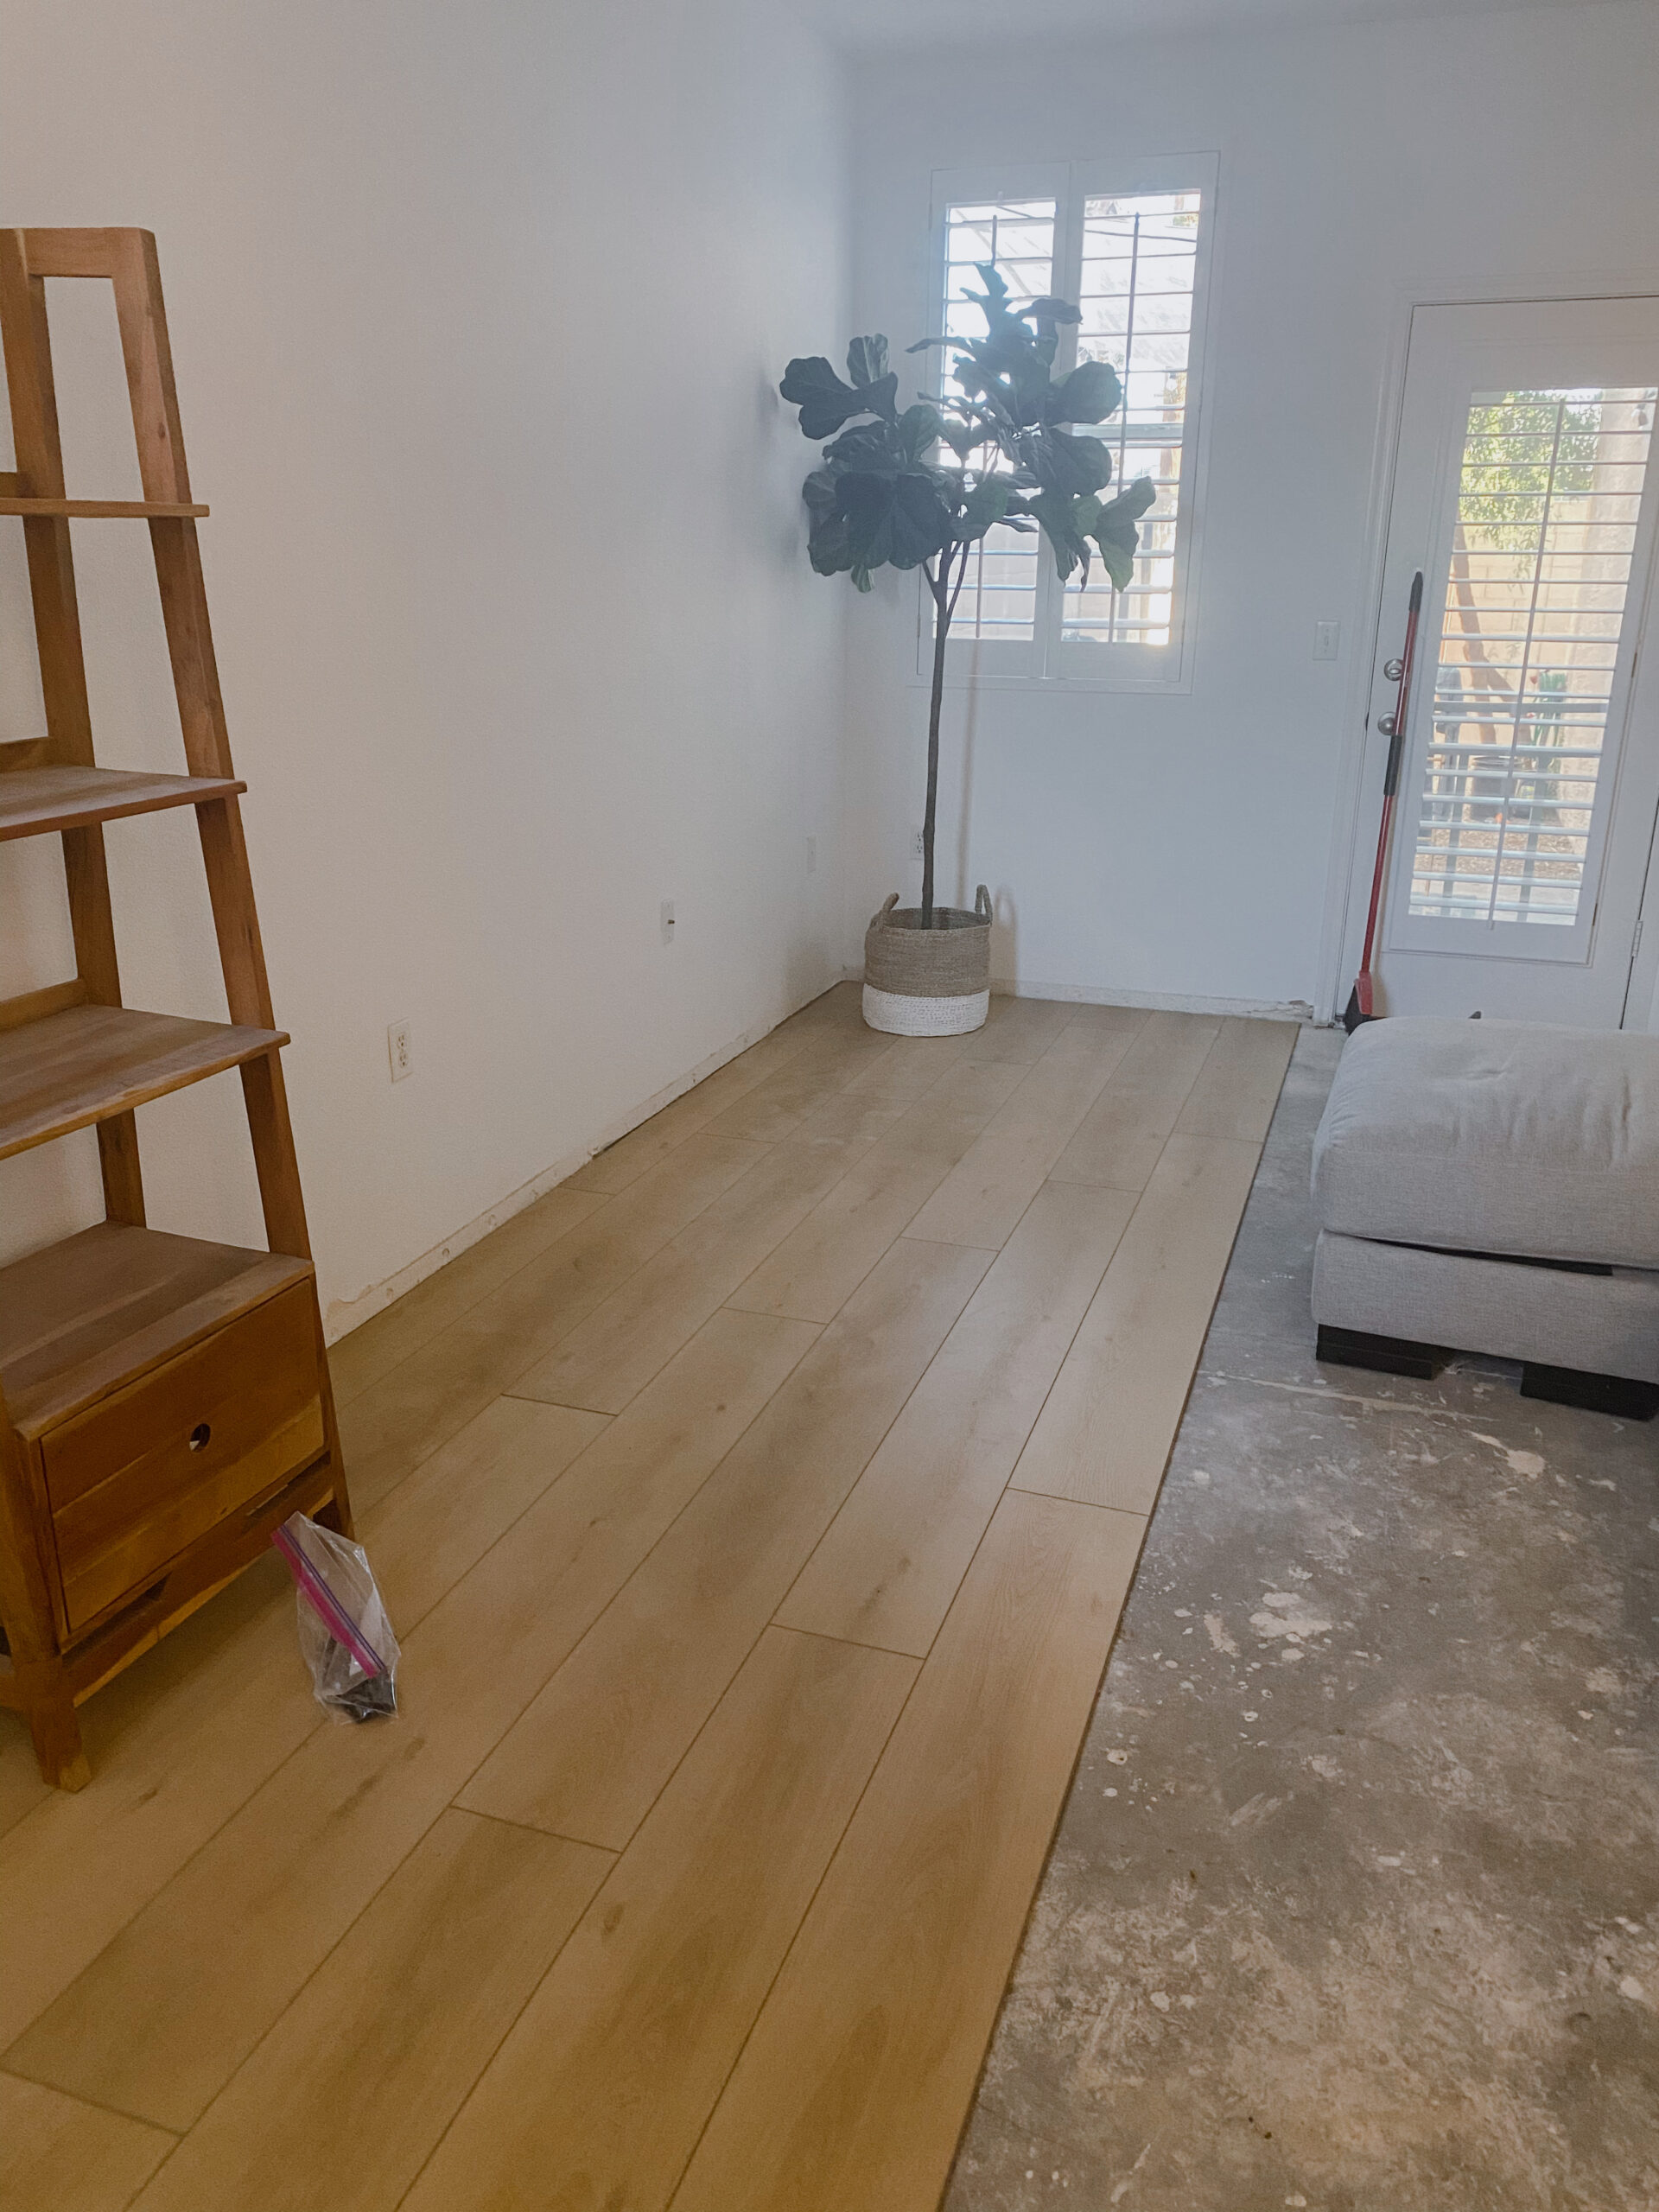
When installing vinyl, you obviously have to start with a flat surface under the planks, so it was really important that we chip away all the old mortar. So we rented a jack hammer (wtf lol) from Home Depot to get up all the remaining tile & mortar and Parker & my dad spent like 6 hours getting it all up. This made a hugeeee mess of dust so we hung a sheet of plastic to try to block off the living room from the kitchen & powder bath, which kind of helped, but we were dusting and cleaning things for like a week after.
Flooret Vinyl Flooring Installation:
While the install process for Flooret was relatively easy, the whole process did take us a lot longer than we thought. My parents drove out for 2 weeks to help us with it, and they ended up staying for 3.5 weeks while we finished it haha. We didn’t spend every day of those 3.5 weeks removing/installing the floors, but that will give you an idea! We had to lay down some plywood upstairs before the vinyl could be laid down and still had some tile and carpet to take up downstairs. It was definitely a labor of love!
Things We Used In the Flooring Removal & Install Process:
- Removal:
- Tile remover chisel
- Tile jack hammer
- Knife cutter
- Gloves
- Wood chisel (baseboard removal)
- Crow bar (baseboard removal)
- Install
- Level
- Vinyl Floor install kit
- Oscilating saw (used to trim under door frames)
- Empire True Blue 12 in rafter square
- Circular saw
- Liquid nails (under stair pieces)
- Router
- Baseboard install
- Miter saw
- Nail gun
- Caulk
What would I have done differently?
I wish I had either rented a jackhammer from the beginning or had just hired someone to remove all of our tile from the start. Now that I know how much of a pain it is to remove tile, I feel like I would NEVER install tile as a main flooring option in my home in the future. The tile removal process was the worst part, so if that had been done sooner it would have made the install process a lot easier.
How I’ve Kept Them Clean:
MY ROBO VACUUM!! Omg guys. My mom found this robo vacuum from Eufy that vacuums AND mops. I got it on a killer sale for around $300, and you install an app on your phone to control when it runs (I run it daily M-F) and can even set “no mop” zones (where I have rugs). It’s seriously the coolest thing. Would HIGHLY recommend if you have any type of hard floors!
I hope this post was helpful to you if you’re considering doing a DIY vinyl flooring install! Again, I can’t recommend Flooret + their team enough. As a reminder, if you’re interested in trying Flooret, use this link and code BBOOKS33 to get a sample for 33% off! Here’s an example of their size!
Special shout out to my dad for all his hard work helping with the install. Love you!!!!
xx
bbooks
Gorgeous! This has convinced me to do soho! Now the tricky part, what color paint is your trim and walls?! It’s a great combo!
Aw thank you! My walls are Benjamin Moore Simply White and the baseboards are Sherwin Williams – I can’t remember the exact shade of white!